Creating a DIY busy board that is a fantastic DIY Montessori toy can be a rewarding project that provides endless entertainment and developmental opportunities for children. Here’s a comprehensive guide to making one:
Materials Needed for DIY Busy Board
Consider gathering the necessary materials. If you need any items, you can easily access them through the links attached to each product that you don’t have.


- Wooden board: Choose a sturdy wooden board of your desired size. Polywood or medium-density fiberboard (MDF) are commonly used.
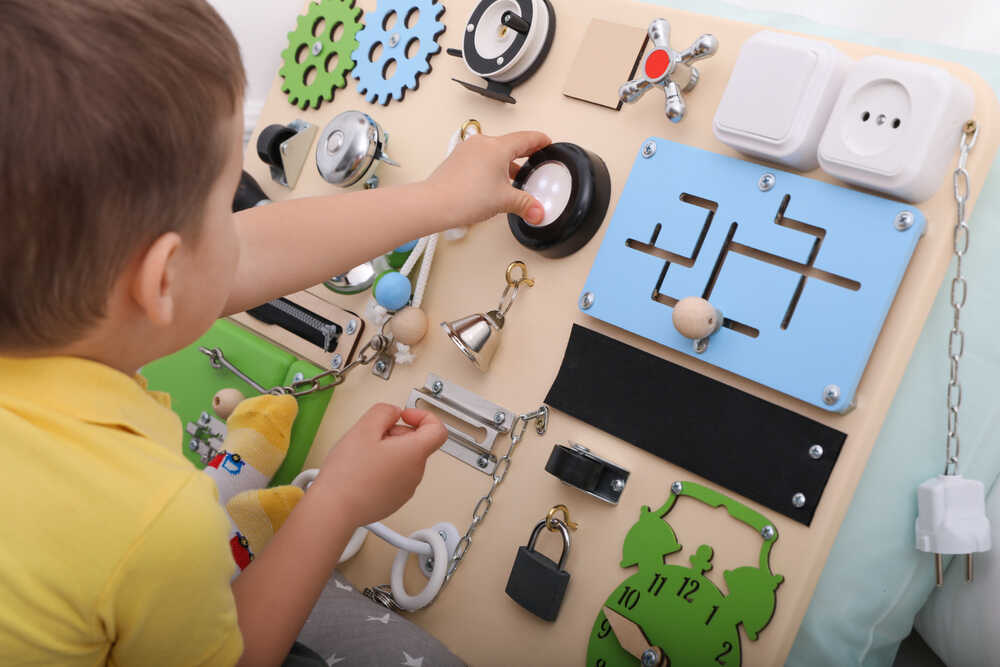
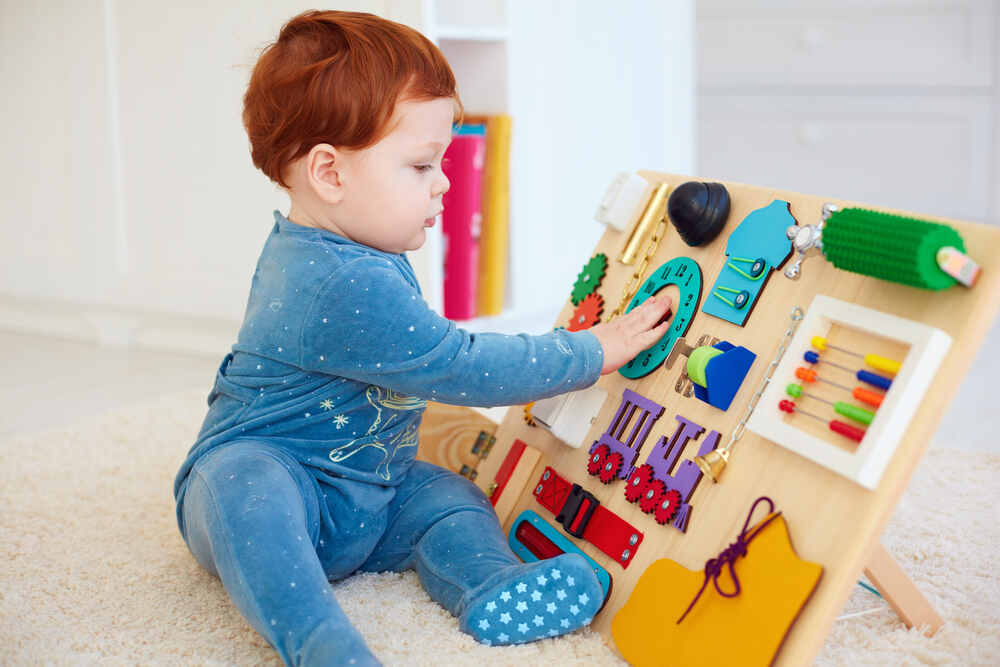
- Various gadgets and objects: Collect a variety of items that offer different textures, sounds, and movements. Examples include:
- Locks and latches.
- Switches and buttons.
- Door knobs and handles.
- Wheels and gears.
- Zippers and buckles.
- Mirrors.
- Bells or chimes.
- Light switches or dimmers.
- Fabric or textured materials.
- Screws, nuts, and bolts: To securely attach the gadgets to the board.
- Power drill and drill bits: For drilling holes and attaching the gadgets.
- Screwdriver: To tighten screws and bolts.
- Safety goggles and gloves: Especially if you’re using power tools.
- Sandpaper: To smooth any rough edges on the board.
- Paint and brushes: Optional, for decorating the board.
Step-by-Step Instructions


- Plan your layout:
- Lay out the gadgets and objects on the board to determine their placement. Consider the spacing between items and accessibility for small hands.
- Arrange the gadgets in a way that encourages exploration and engagement.
- Prepare the board:
- Sand the edges and surface of the wooden board to remove any rough spots or splinters.
- If desired, paint or decorate the board with non-toxic paint. Allow it to dry completely before proceeding.
- Attach the gadgets:
- Use a power drill to create pilot holes for screws or bolts where you want to attach each gadget.
- Securely attach each gadget to the board using screws, nuts, and bolts. Make sure they are firmly fastened and won’t come loose during play.
- For items like mirrors or fabric, use strong adhesive or brackets for mounting.
- Safety test:
- Before allowing children to play with the busy board, thoroughly test each gadget to ensure it functions properly and does not pose any safety hazards.
- Check for sharp edges, loose parts, or any potential choking hazards.
- Optional customization:
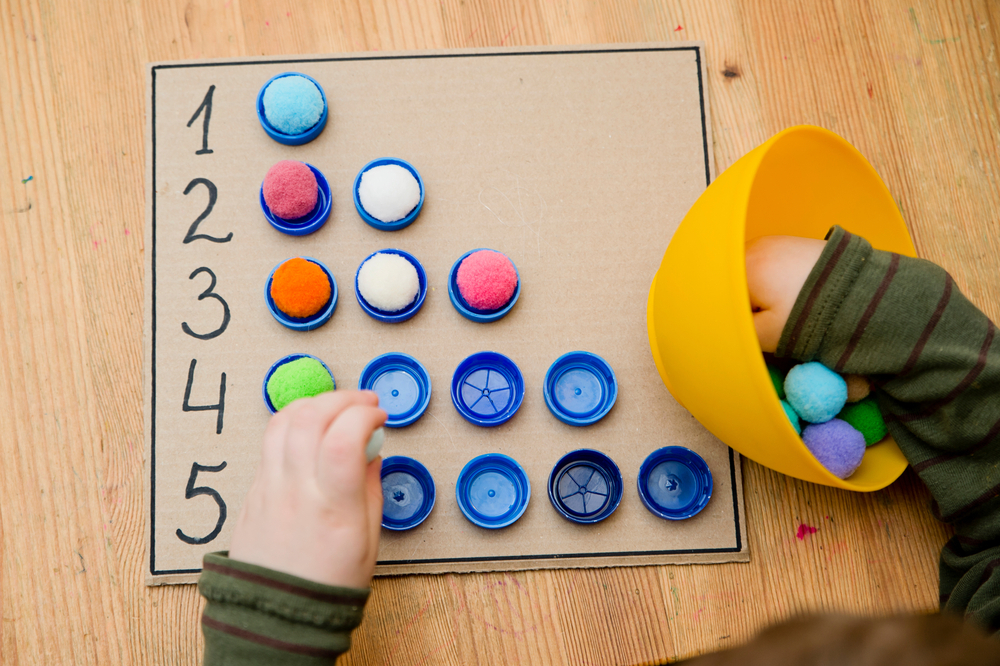
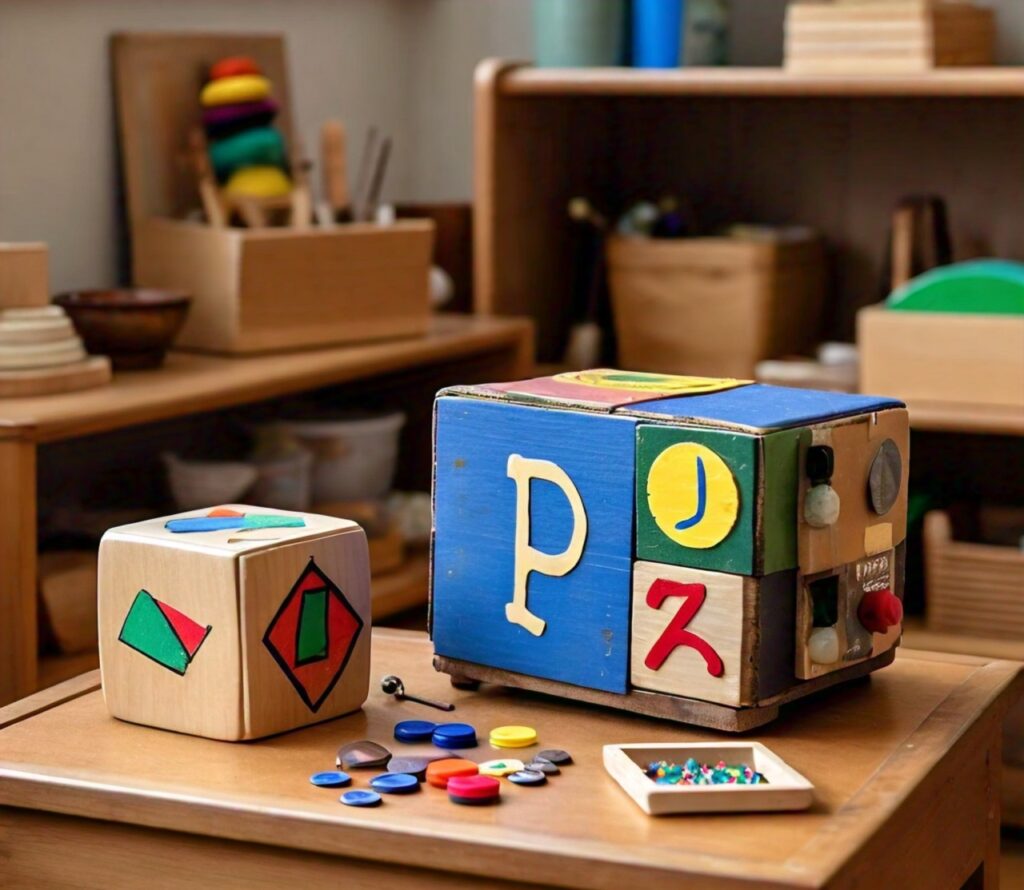
- Add additional features such as sensory elements (e.g., textured surfaces, beads), interactive components (e.g., puzzles, mazes), or educational elements (e.g., alphabet letters, numbers).
- Personalize the busy board to match your child’s interests or developmental needs.
- Mount or stand the board:
- Decide whether you want to mount the busy board on a wall at child height or attach legs to the back for a freestanding board.
- Securely install the board in a safe and accessible location.
- Supervise play:
- While busy boards are generally safe, it’s essential to supervise young children during play to ensure they are using them appropriately and safely.
- Encourage exploration and guidance as needed.
Safety Tips
- Avoid using small objects that could pose a choking hazard.
- Make sure all edges are smooth and rounded to prevent injuries.
- Regularly inspect the busy board for any loose parts or damage.
By following these steps, you can create a fun and engaging DIY busy board that provides hours of entertainment and learning for children. Enjoy the process of designing and building your custom busy board!


